DIY Dip Dye Paper
DISCLOSURE — When you click on my affiliate links, I may earn a commission for qualifying purchases made through Amazon.com links in this post. This commission goes directly into the maintenance of my website, the technology that goes into my courses, and my art. Want to know more? Read my AMAZON AFFILIATE DISCLAIMER.
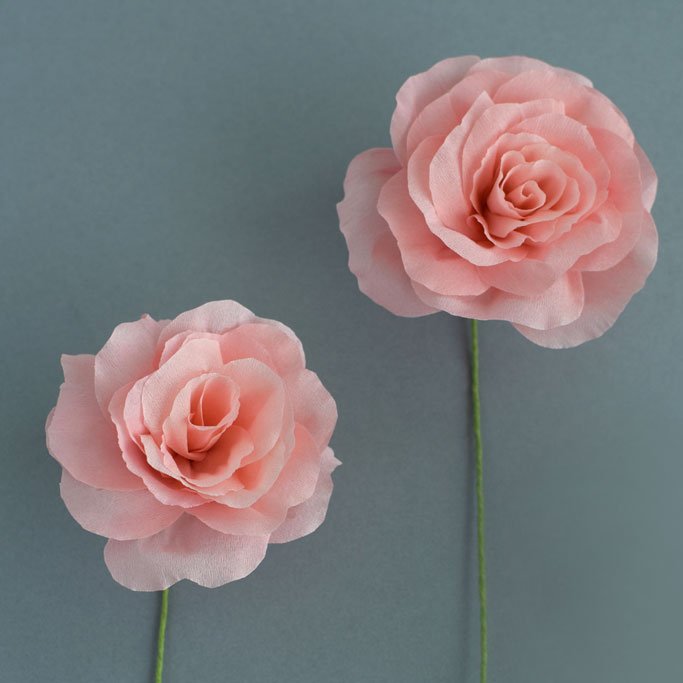
You know me: I absolute love texture and colour with my paper flowers. One way to create texture is to manipulate the colour of the material, in this case, tissue paper and/or crepe paper*. The techniques I'll talk about today will result in bleach dye paper and dip dye paper.
*The crepe paper that I have bleach dye or dip dye has been single-sided crepe paper from The Paper Place.
Bleach Dye Paper -
Bleach dying involves dipping your paper in a solution of bleach and water. The bleach does it job by removing colour from the paper. You'll be able to see the bleaching working fairly quickly. If the bleach works, you'll start seeing the edges of the paper grow lighter. As the bleach solution continues to be absorbed, the lightness will spread. At the beginning, I had to determine the appropriate bleach + water ratio through trial and error. Generally, the bleach solution is quite forgiving. [UPDATED August 17, 2016: I use a mixture of 1 cup water + 4 Tbsp of bleach]
Advantages - I can do other work during the drying time. I just prepare the strips of paper, the bleach, and set up my drying station, and let the dyed paper dry. I can also make a few batches at a time.
Disadvantages - Bleach dying takes time to drying. Also, bleaching is not effective on all types of papers. Some papers that are water resistant will not bleach (obviously because they are water resistant). I found that bleach tends to be fairly ineffective with darker coloured crepe paper, although still effective with dark coloured tissue papers. In fact, I found that tissue paper (particularly tissue paper without a wax coating) reacts to bleach dye pretty well and I have been quite successful with it.
The BIGGEST disadvantage is the fact that bleach is a chemical - although it is a household chemical and deemed safe for household use, the warning label still indicates that it could be toxic and that it should be used in a well-ventilated area. Anything that is labeled with a skull scares me, and it should scare you too. I also discovered that some paper manufacturers still use a chemical in yellow dyes that could be carcinogenic, thereby causing cancers, and also to birth defects. I discovered the possible toxicity issue the hard way when I was bleach dying yellow crepe paper for ranunculus. Not only were my eyes watering up really badly, but the stench was so strong that inhaling it hurt my throat and I had to leave the bathroom (where I set up my drying station) midway through unravelling a strip of bleach dying yellow crepe paper.
Dip dye paper -
Dip dying involves dipping your paper in a solution of water. This technique takes advantage of the non-water resistant character of the paper and let's the dye bleed off the wet paper. Like bleach dying, you'll be able to see the water working fairly quickly; starting on the edges of the paper, the colour will grow lighter and continue to spread to dryer parts of the paper. It takes a few hours to dry.
Advantage - Like bleach dying, dip dying allows me to pre-dip dye the paper, go away, and do something else while it dries. I can also make a large batch in one day and feel productive.
Disadvantage - Dip dye paper takes time to dry. Also, dip dying is only effective on paper that is not water resistant, which permits the bleeding. So the dark coloured crepe paper continues to be quite resistant to colour change**. I found that tissue paper does not react as well with water alone and that bleach is more effective.
**I've also found that the lighter crepe paper fades in sunlight much faster than the dark crepe paper.
Note that every colour and every crepe paper absorbs the liquid at different rates. In the above example with the crepe paper in "Pink", the crepe paper on the very left did not absorb the liquid very well and resulted in abrupt demarcation between the dyed and non-dyed section of the paper. In that particular case, I was bleach dying, but the same effect could have occurred with dip dying. With the middle and right samples of crepe paper in "Pink", I dipped and then also pushed parts of the paper directly into the water, which helped the paper absorb the liquid solution throughout. Not all crepe paper absorbs at, what I would consider, this slower rate. For example, the crepe paper in "English Rose" absorbed the liquid very quickly, within 2 seconds, so I only had to dip the paper on one side.
KEY TAKEAWAY
Generally, I can get more obvious results (i.e. lightness) from bleach dying compared to dip dying, however, given the overall subtle differences between the results of bleach dye paper and dip dye paper, I prefer the dip dye paper for health reasons.
Stay tuned for next week when I will talk about my experience with dip dye colour and painted paper. You can read the blog post here.
UPDATE as of June 3/22 -
This blog post was written in 2016 and since then, I’ve improved upon my colouring techniques. You can learn more about these colouring techniques in depth in my book, Paper Flower Art (GMC, 2019) (buy in hardcover or in paperback) or head to my education website, Crafted to Bloom, to find more online learning.


