Dip Dye Colour Paper
DISCLOSURE — When you click on my affiliate links, I may earn a commission for qualifying purchases made through Amazon.com links in this post. This commission goes directly into the maintenance of my website, the technology that goes into my courses, and my art. Want to know more? Read my AMAZON AFFILIATE DISCLAIMER.
This week I'm going to share with you 2 other techniques: dip dye colour paper and painted colour paper.
Dip dye colour paper -
Involves dipping paper in a water mixture tinted with food colouring, paint, or dyes (eg. dyes from crepe paper) to add colour to the paper.
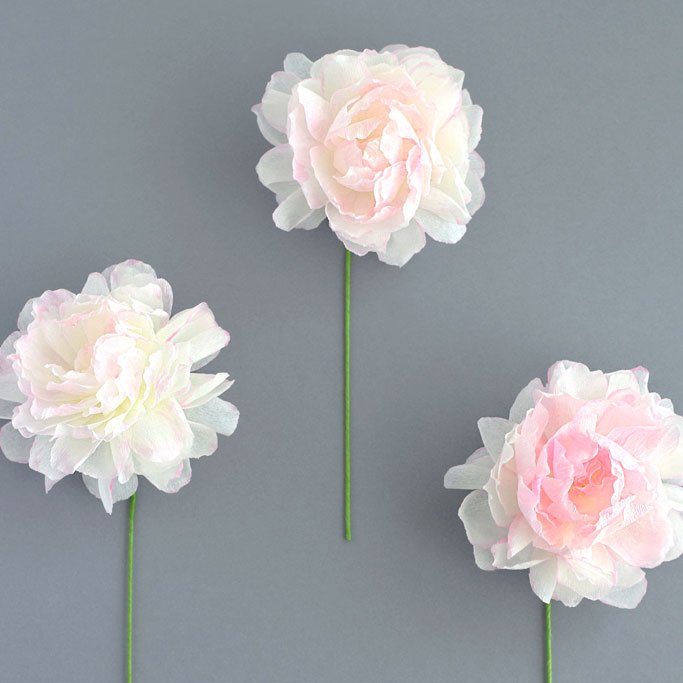
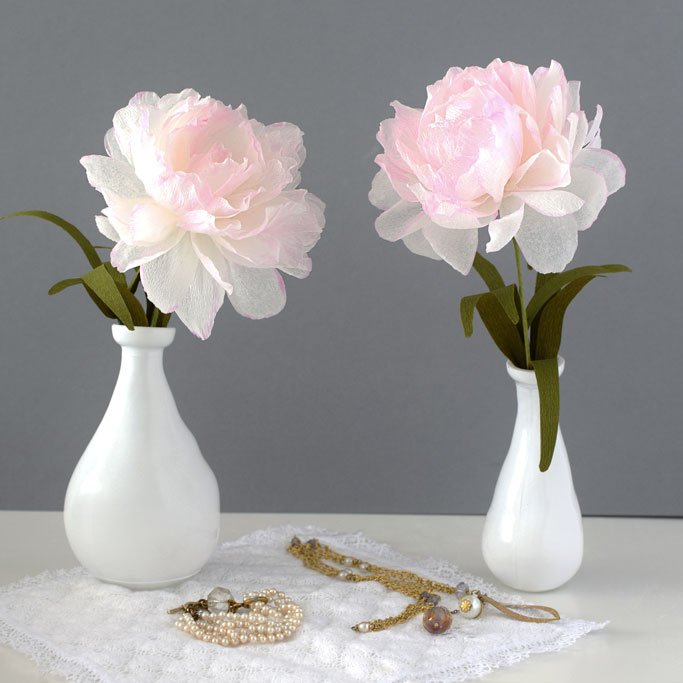
Advantage - You can colour the paper to any colour of your heart's desire. In the above example, I dip dyed white fine crepe into a mixture of food colouring (AmeriColor soft gel paste food color in Deep Pink) and water. Dip dying colour also allows you to easily adjust the density of the colour - if you want the colour to be darker, add less water; if you want a lighter version of the colour, just add more water. Like dip dye paper, you can do this ahead of time, and let it dry while you work on something else.
Disadvantage - There is some trial and error involved in finding the perfect proportions/mixture to get the colour you want. I would make the mixture and then dip a small strip of paper towel to get a sense of how dark/light the colour would be if the white fine crepe paper was dipped into the mixture. I also found it was difficult to control even absorption of the colour mixture. You can see from the photo below of the strips of Deep Pink dip dye colour paper that the mixture was absorbed quite unevenly. On the far left was my first attempt; the colour is dark and intense, but does not spread to the rest of the strip. In the middle are 2 strips of my 2nd attempt to spread the colour around the strip more evenly. Finally, on the far right are 3 strips in my 3rd attempt.
Painting colour paper -
Involves applying colour directly onto the paper either after assembly (eg. painted color peony above) or prior to assembly.
Advantage - Generally it is easier to control the darkness/lightness of the colour and placement of colour because you apply the colour directly onto the petal.
Disadvantage - Can be more time consuming and you'll have to set up a painting area.
I do find that I prefer to hand paint the petals prior to assembly. It ensures that the paper won't wilt and/or change shape if you apply too much liquid to it. Also, it can be challenging to apply colour evenly to the petals after assembly without disturbing the other petals surrounding it.
Check out last week's post where I talk about 2 other techniques of colouring your paper: dip dye paper and dip dye bleaching. I have also updated the post to include the proportions for the bleaching mixture.
In my next post, I'll show you some fantastic results I had with using AmeriColor soft gel paste food color in Royal Blue on some cupcake toppers.
UPDATE as of June 3/22 -
This blog post was written in 2016 and since then, I’ve improved upon my colouring techniques. You can learn more about these colouring techniques in depth in my book, Paper Flower Art (GMC, 2019) (buy in hardcover or in paperback) or head to my education website, Crafted to Bloom, to find more online learning.


