How to Make a Crepe Paper Berry Branch
DISCLOSURE — When you click on my affiliate links, I may earn a commission for qualifying purchases made through Amazon.com links in this post. This commission goes directly into the maintenance of my website, the technology that goes into my courses, and my art. Want to know more? Read my AMAZON AFFILIATE DISCLAIMER.
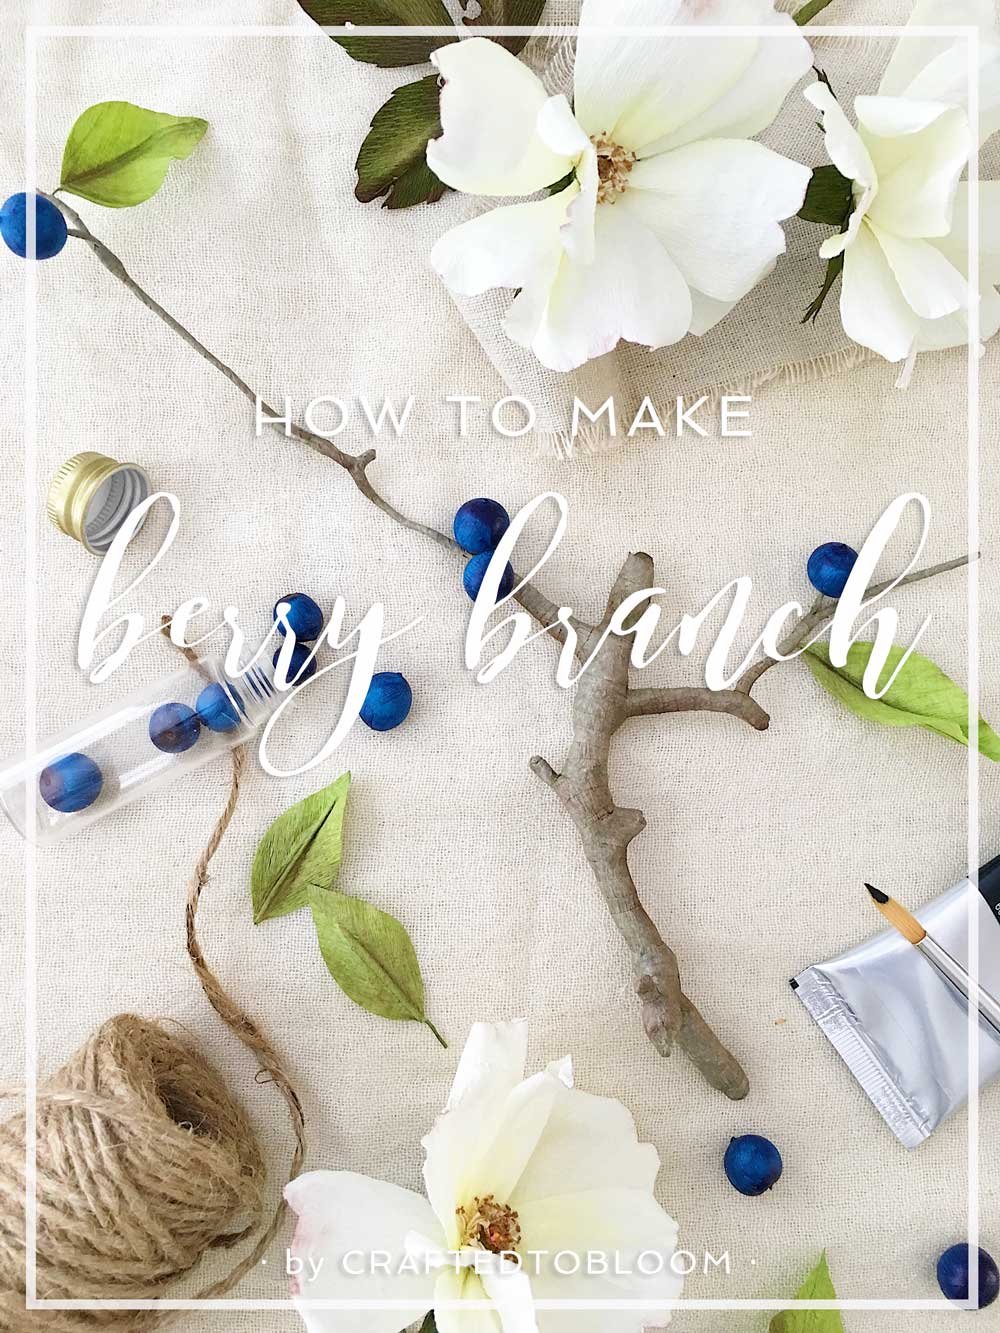
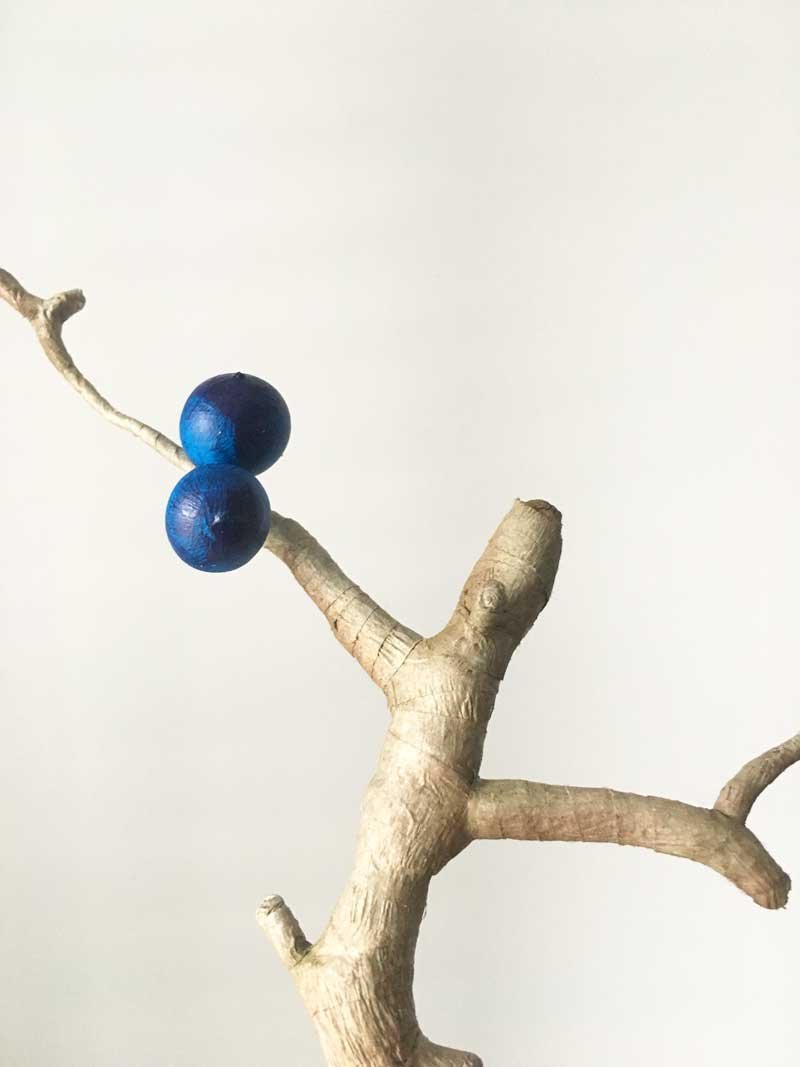
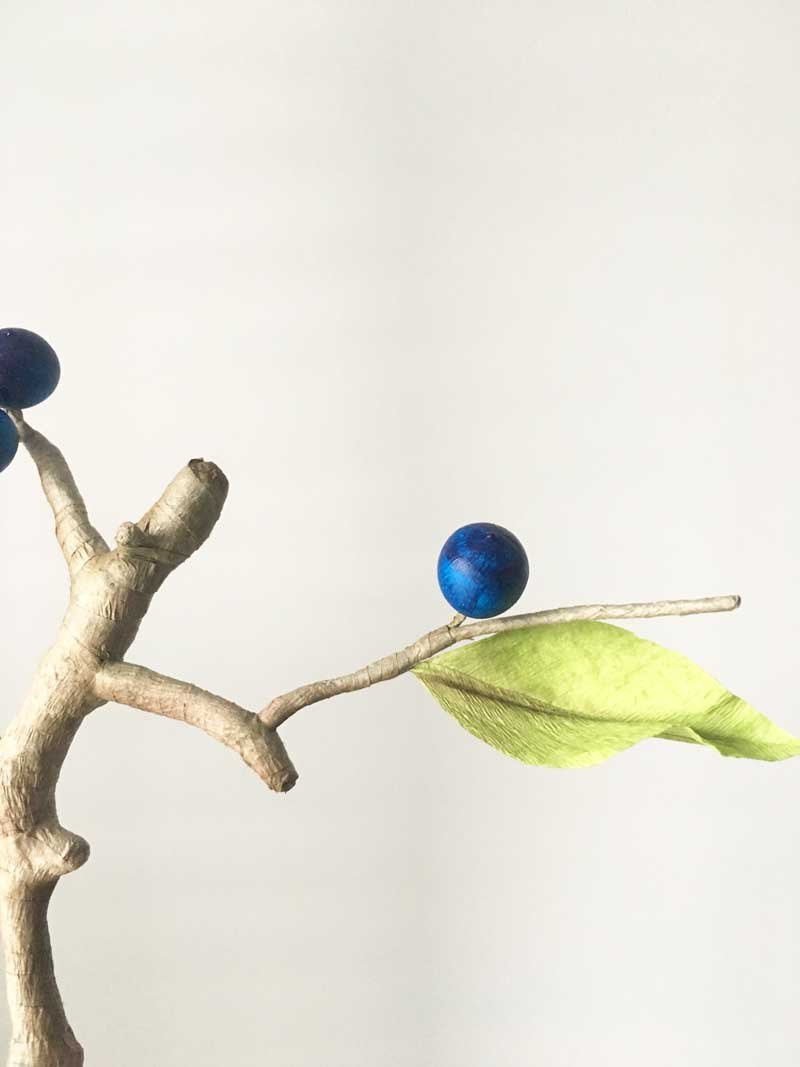
The last few weeks, I've been working on these blue sloe berry branches, hoping (and intending) to put together a small fall arrangement. Unfortunately, other things became a priority so I haven't yet been able to put anything together. That said, I was able to spend a little bit of time demonstrating how I made my branch and berries. Who knew that people would be so interested in such a gnarly thing! So here is my demonstration of how to make a crepe paper berry branch.I was inspired by all of the trees and falling branches right outside of my house. We have a wooded area across the street, and a park just around the corner with lots to forage. So I picked up a short branch as a model, and this was the result. I have to say, this looks nothing like it's model, all except for it's gnarly-ness.
The other thing I was inspired by was a post by Emily Avenson of Fleuropean. I had watched her put together a small arrangement with sloe berry branches and I had been so surprised to hear that florists during the summer would purposely pull off leaves off branches to make them less full. It made a strong impression on me and made me look at bare branches in a very different light. As I assembled the berries and leaves on the branch, I kept that at the back of my mind.
I demonstrated my technique over the course of 2 days and Lives, although the tutorial itself is divided into 4 shorter segments. Since these were once featured on my Instagram Live, I saved them and uploaded them onto my YouTube Channel. Yes, that's right, if you didn't know about it before, you know it now. I've had a YouTube Channel for 2 years now, mainly to host (privately) videos of my bouquets/arrangements. Make sure you subscribe to my YouTube Channel to be the first to hear about my new videos demonstrations!
I've included a list of material sources in the videos, which is also listed at the end of this post. You can also view my other tutorials and demonstrations under the drop down menu, "Learn" and "Tutorials & Demos". Please LIKE my video if you enjoyed watching it and learned something! Thank you!
DISCLAIMER: These videos first appeared on an Instagram Live on November 6, 2018 and November 16, 2018 to demonstrate my technique to my followers, as opposed to teaching it. Due to the nature of recording Live and unscripted, this video was a demonstration of my techniques and is not representative of the overall quality of my online courses, which are pre-recorded/edited.
Sources for Materials
20 gauge cloth covered stem wire 18" long (I buy my white covered stem wire in 36" long from Papermart.com, but this is similar to what I use. In practice, any 20 gauge stem wire (bare or cloth/paper wrapped) would do). Any dollar store or baking supply store will have this
24 gauge paper/cloth wrapped stem wire - Any dollar store or bakery supply store will have this.
Brown crepe paper (I use a 180 g Chinese-made crepe paper from Papermart in brown, but this looks similar, despite the listing saying it is Italian-made)
Floral tape - Check out your local dollar store or baking supply store, or Michaels/Walmart. My favourite is from Darice.
Pan Pastels in Permanent Red Ex. Dark and Bright Yellow Green Ex. Dark. Check out your local art supply store, such as Curry's.
UPDATE AS OF JUNE 3/22 -
This blog post was written in 2018 and since then, I’ve developed more techniques of how to make branches. You can learn how to make a fruit blossom branch and other foliage and flowers in my book, Paper Flower Art (GMC, 2019) (BUY IN HARDCOVER or IN PAPERBACK) or head to my education website, CRAFTED TO BLOOM, to find more in-depth learning.

